Amber shower bottle DIY
If there’s anything I’m anal about (lol, how much time do you have?), it’s ugly labels and branding being on display in an otherwise aesthetically pleasing setting. You know, like over my dead body are our Oral B electric toothbrushes and Crest toothpaste staying out on the bathroom counter :) I go out of my way to hide everything of this sort in my home. Even looking inside the fridge or liquor cabinet sort of stresses me out (which is why I’m always a sucker for a nice looking label or great packaging).
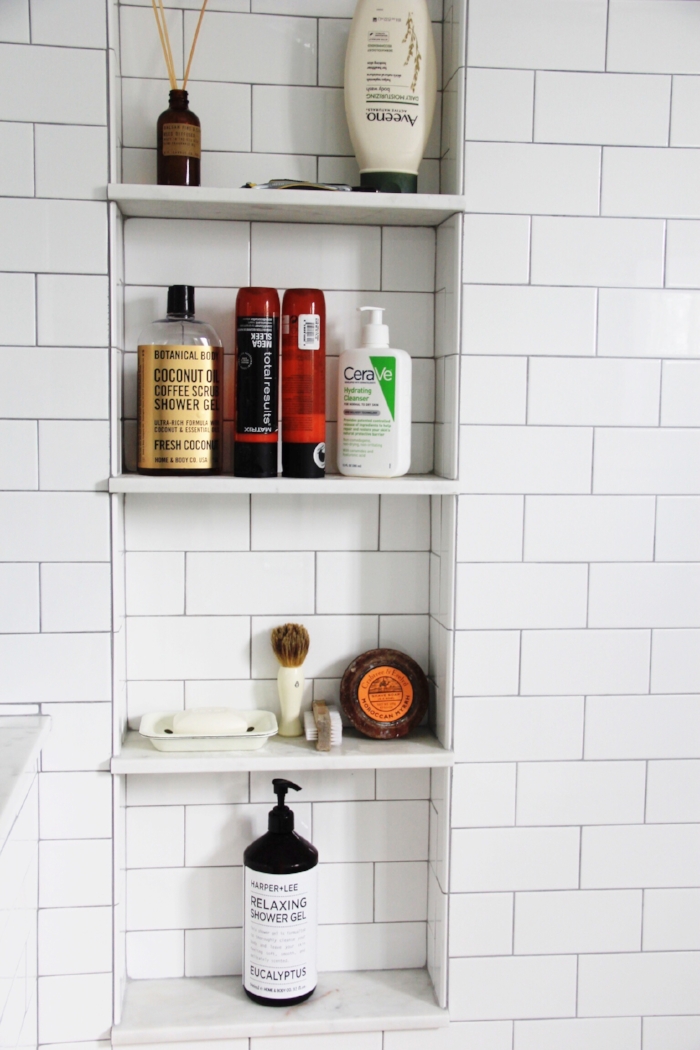
Our shower, though, has always been something to make me cringe if I think about it long enough. If you’re at all a product junkie, the shower (and really, bathroom at large) becomes this weird Marshalls/Ulta/Sephora burial ground for all things tried and tested. Not to mention that most shampoo and soap bottles are still so unbearably ugly and busy and (gasp) brightly colored by design. Am I dramatic?
PS: Only those of you who share my same neurosis need continue. To the rest of you, I envy you and respect you. It ain’t always fun over on this side :)

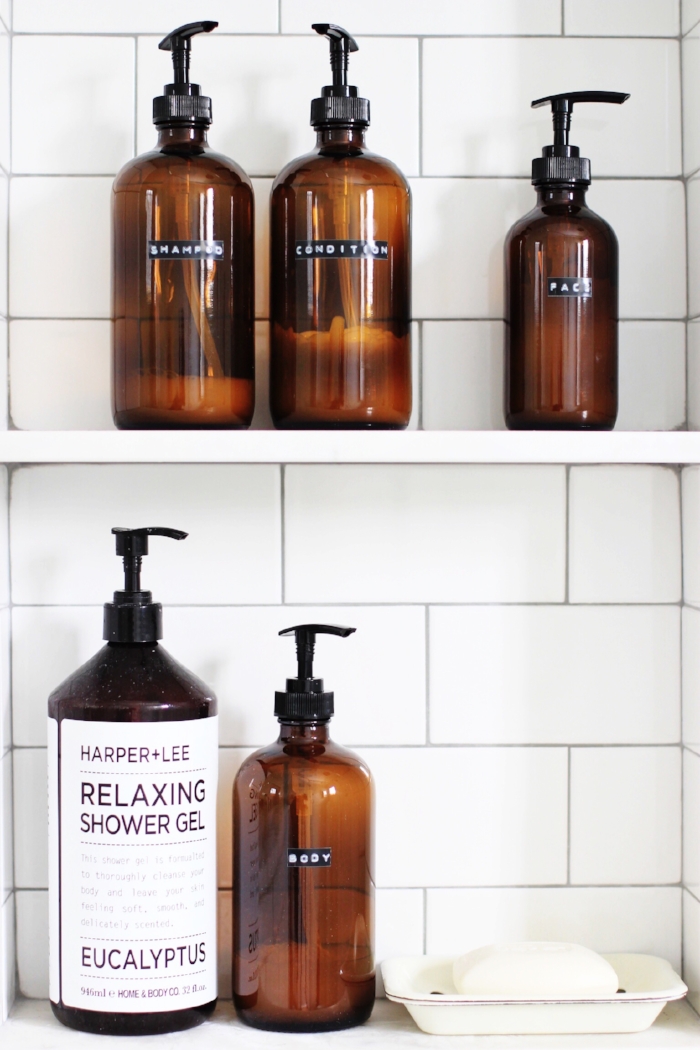
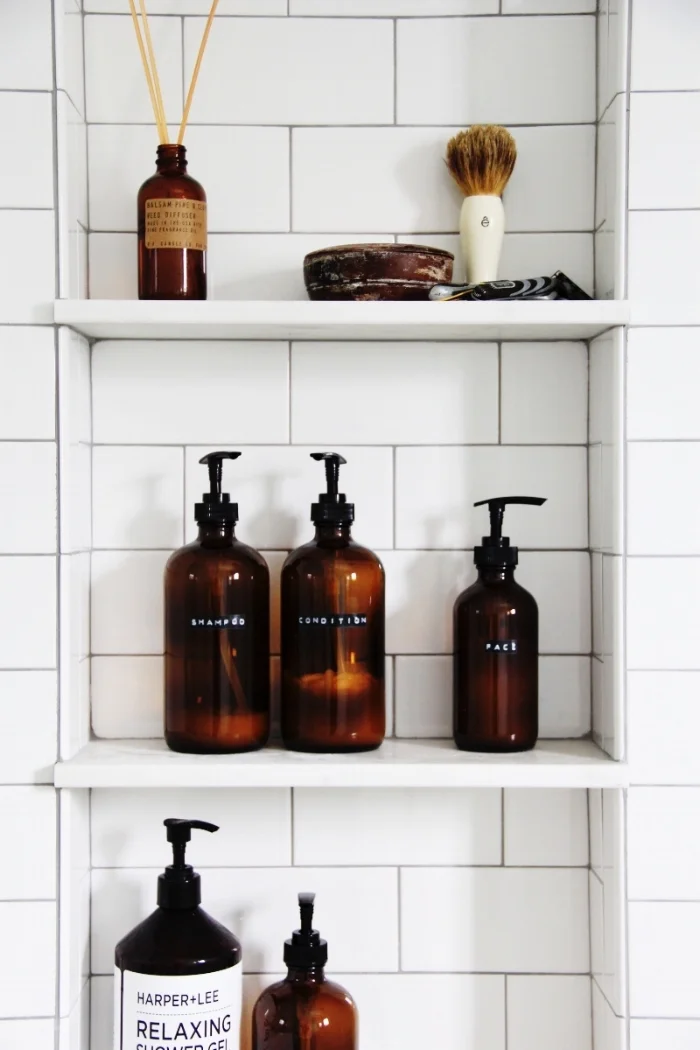
I’ve never been so satisfied by this simple, clean, sleek shower transformation. Gone forever are the mismatched bottles and ugly labels. My shower is looking the most zen it’s ever looked, and I couldn’t be more thrilled about it. The best part is that I still have extra amber bottles to work with for giving Jon his own bottles, or for those days I need to add a new shampoo or wash to my own repertoire.
You know that the anal, obsessive, organized, crazy side of you is intrigued.

Here's what you need
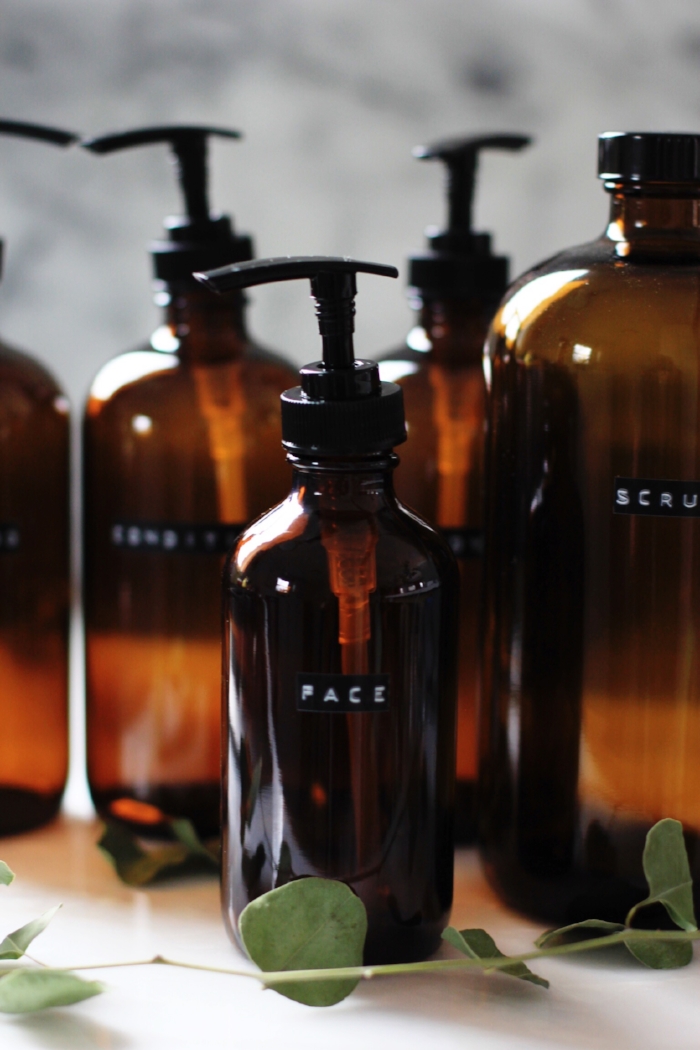
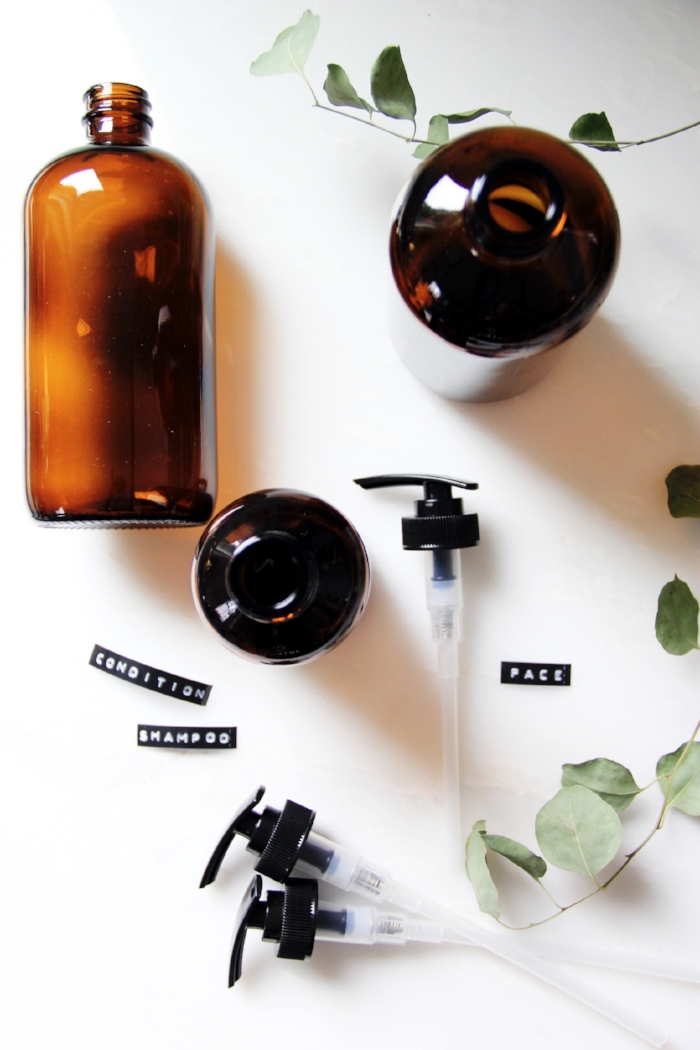
Amber glass bottles (or plastic) - I got both 8 oz and 16 oz versions with pumps, as well as 32 oz ones with a screw cap instead of a pump
Label embosser with black tape
Super glue, potentially
Scissors
Here's how I made them
Emboss labels for whatever bottles you're making. I did shampoo, condition, face, body, and scrub. But other clever alternatives might be "first, second" for shampoo and conditioner, "his, hers" for various shampoo bottles, or "shampoo one, shampoo two." Just be creative for whatever your needs are. Use scissors to cut labels down so that the spacing on each end of label is equal - they will likely not be naturally even. You may also find you need to cut down the pump straws to be a teeny bit shorter.
Affix each on its associated bottle (I used a smaller bottle for face wash, and bigger ones for the others, especially scrub which I like to pour out as opposed to pump), avoiding any seams in the glass. Please note: depending on the level of humidity in your shower, especially if it's closed with a door as opposed to curtain, you may find that the condensation causes the labels to unstick slightly. Mine have held up just fine, but I have noticed they look as if they're loosening sometimes. If you would like the labels to be more permanently secure, feel free to secure them with glue in addition to their adhesive.
Fill bottles with various products whose current bottles you don't love, but consider leaving any you do like to have a little contrast from the amber bottles. Arrange on edges of bathtub or on shower ledges.
Because I used glass bottles, I look forward to using them for a long, long time. They can be washed and affixed with new labels as necessary.
PS: next I'm going to make kitchen ones for soaps, labeled "dishes" and "hands"